Half vs. Full Range
What Are Half Range and Full Range in ORB Trading?
When trading Opening Range Breakouts, you need to set stops and targets. Half range and full range give you two ways to calculate these levels based on the size of your opening range.
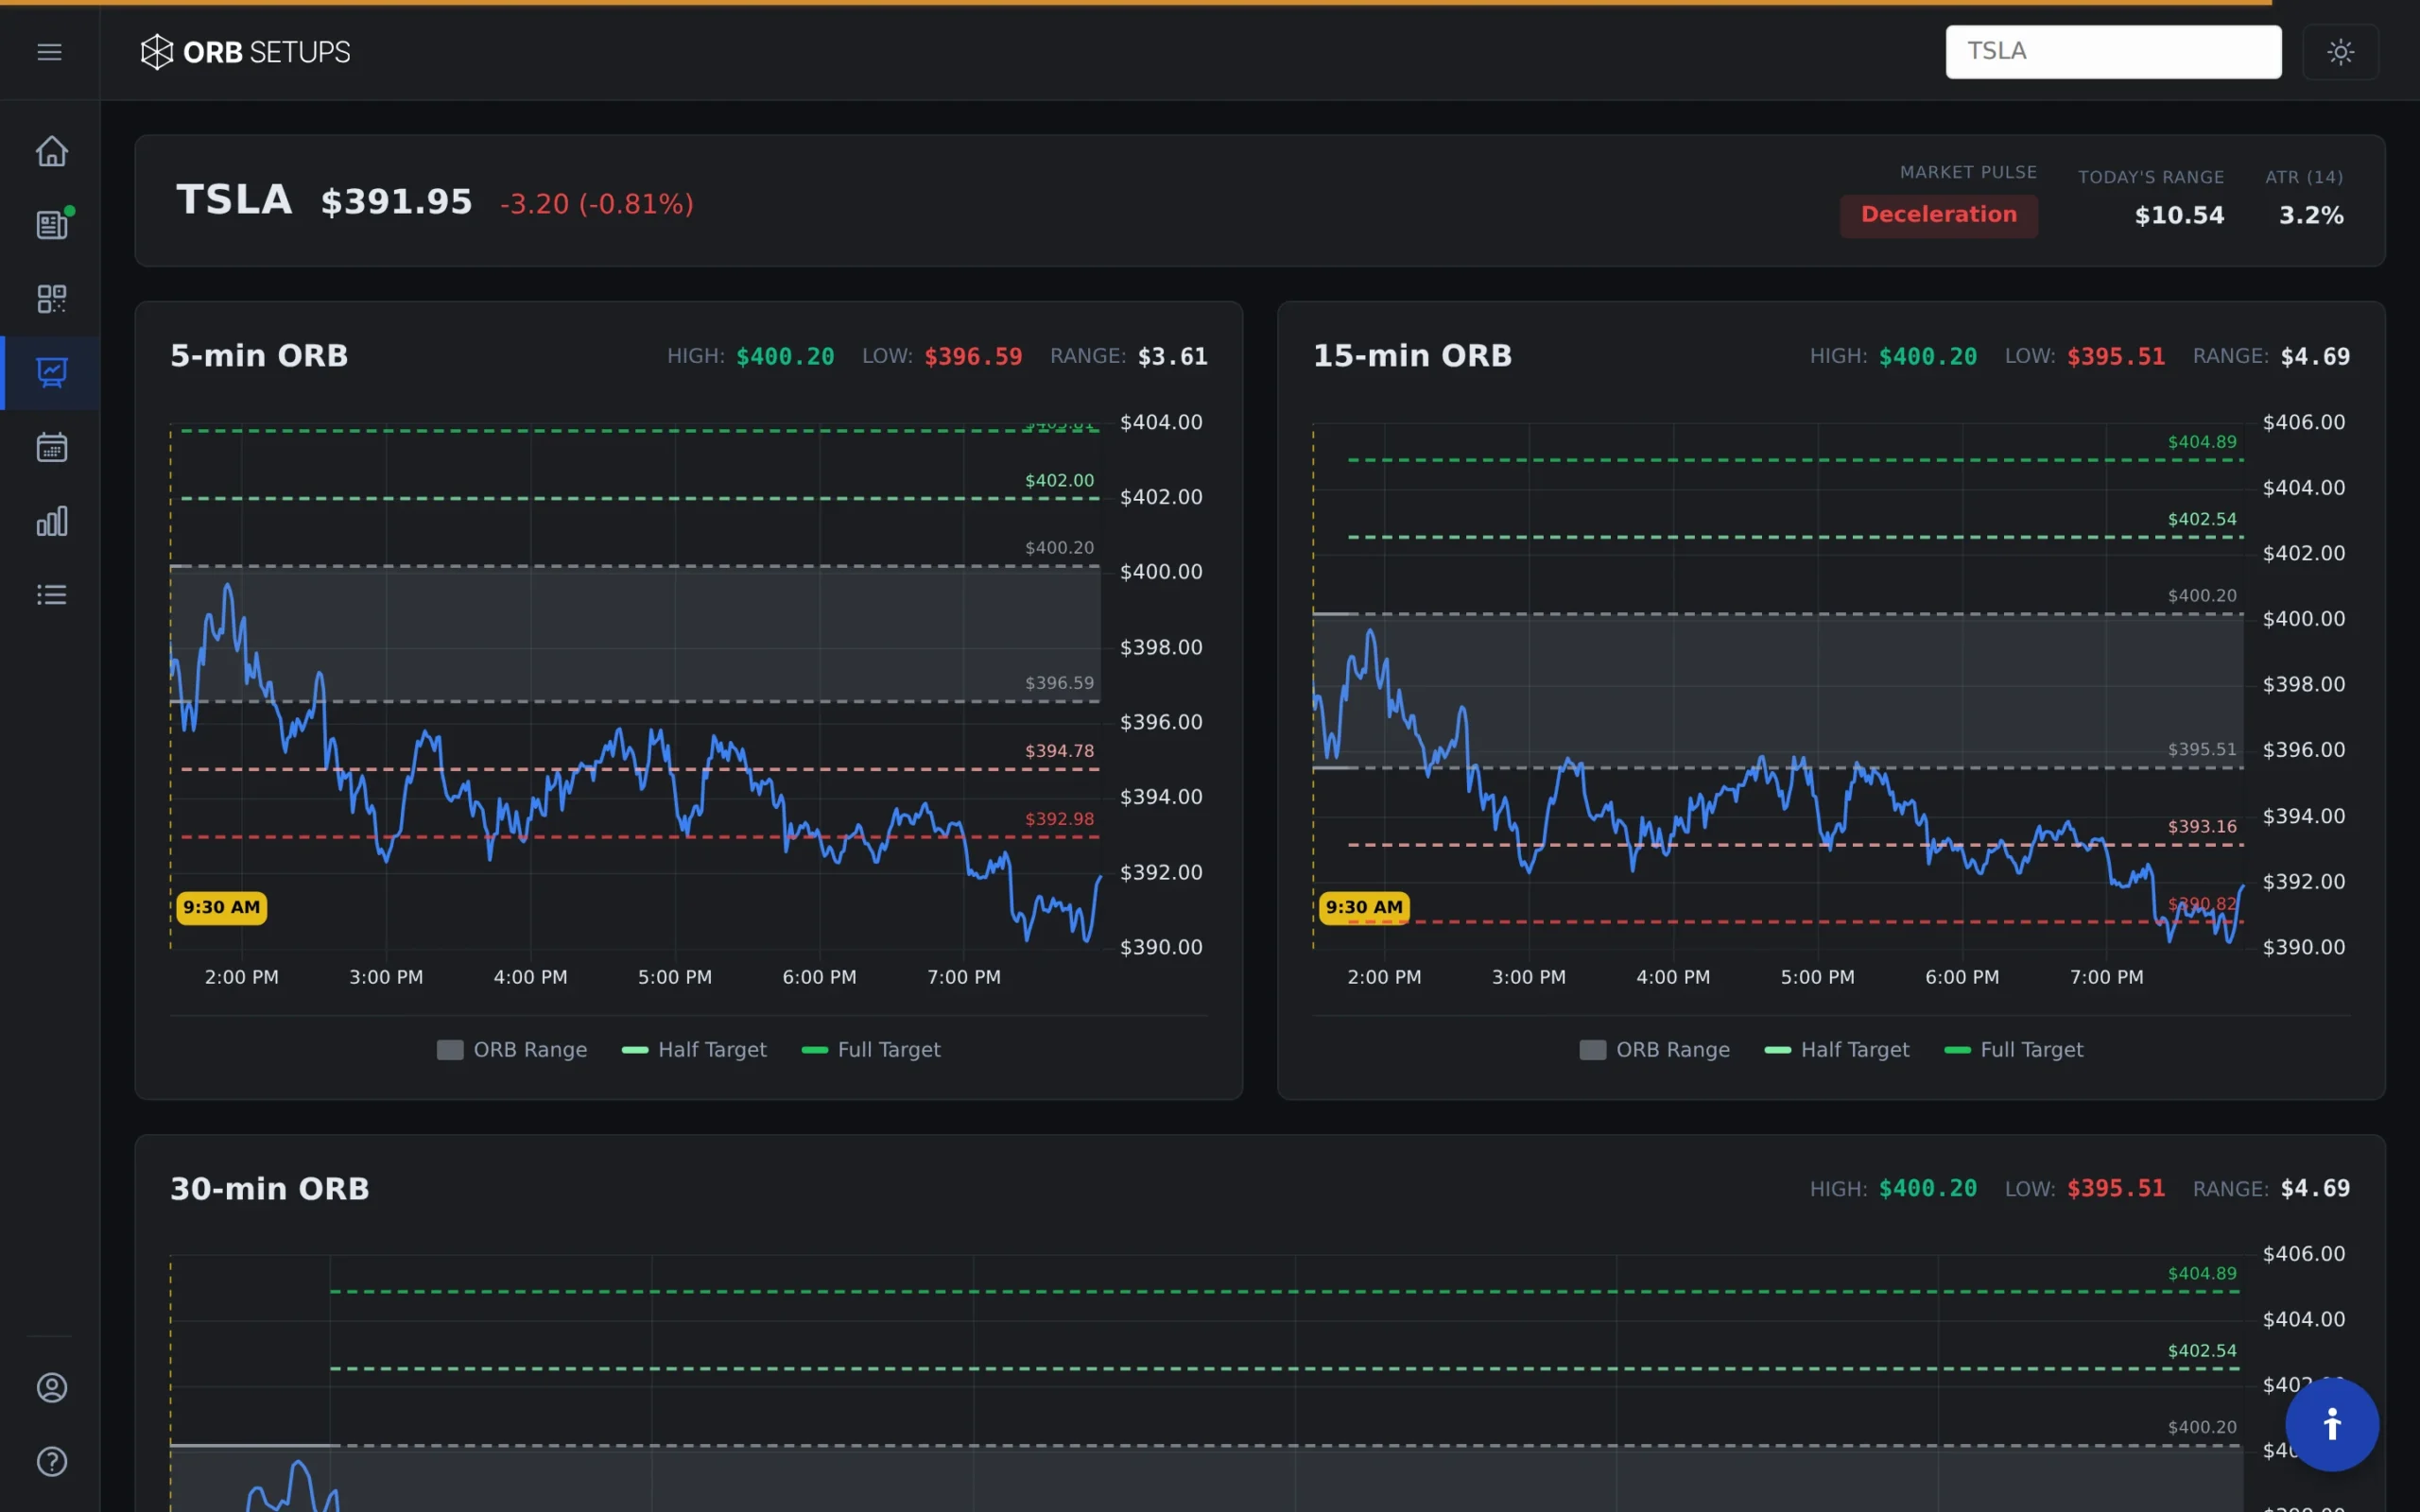
ORB Setups scans 600+ symbols with a 2-second refresh, and every Trade Card shows you both half range and full range levels automatically. Here is how each works and when to use them.
Half Range: Tighter Stops, Closer Targets
Half range equals 50% of the opening range width. If your opening range spans $2 (from the low to the high), the half range is $1.
Half range stop: Your stop sits at the midpoint of the opening range, between the high and low. This gives you a tighter stop with less risk per trade, but you may get stopped out on normal retracements within the range.
Half range target: Your profit target sits one half-range beyond the breakout level. For an upside breakout, that is 0.5x the range above the opening range high.

When to Use Half Range
- You want smaller position risk per trade
- The symbol has tight opening ranges relative to its ATR
- You are trading larger position sizes and need to limit dollar risk
- You prefer quicker profit targets with higher hit rates
Full Range: Wider Stops, Larger Targets
Full range equals 100% of the opening range width. Using the same $2 range example, your full range measurement is $2.
Full range stop: Your stop sits just beyond the opposite breakout level. For a long trade triggered at the range high, your stop goes below the range low. This gives the trade more room to work but increases your risk per trade.
Full range target: Your profit target sits one full-range beyond the breakout level. For an upside breakout, that is 1x the range above the opening range high.
When to Use Full Range
- You want to give trades room to develop without getting stopped on minor pullbacks
- The symbol tends to retest its opening range before continuing the breakout
- You are trading smaller position sizes and can accept more risk per trade
- You want larger profit targets, even if hit rates are lower
Risk to Reward Ratios by Combination
You can mix and match half range and full range for stops and targets. Each combination gives you a different risk-to-reward ratio.
1:1 Risk to Reward
- Half range stop + Half range target: Risk half the range to make half the range
- Full range stop + Full range target: Risk the full range to make the full range
Both setups give you 1:1 R/R, but the full range version requires a higher win rate to be profitable since each loss is larger.
1:2 Risk to Reward
- Half range stop + Full range target: Risk half the range to make the full range
This is the most common setup for traders who want to limit downside while aiming for larger winners. You need to win only 34% of your trades to break even (before commissions).
2:1 Risk to Reward
- Full range stop + Half range target: Risk the full range to make half the range
This setup is rarely used since you risk more than you stand to gain. It only makes sense for symbols with extremely high win rates on ORB trades.
How to Check Backtest Results for Each Setup
ORB Setups gives you access to 150,000+ historical setups and 1.6M backtested trades across 5-minute, 15-minute, and 30-minute timeframes. Before you trade any stop/target combination, check the backtest data.
In the Live Scanner, the R/R column shows your current stop and target settings. You can filter by risk-to-reward ratio to find setups that match your preferred configuration.
The backtest results show win rate, average P/L, and trade expectancy for each symbol and timeframe. Use this data to decide whether half range or full range works better for the symbols you trade.
Pro Tip: The 1:3 Risk to Reward Entry
You can improve your risk-to-reward beyond what the standard settings offer. Here is how:
- Find setups with positive backtests using full range stops and full range targets
- Instead of entering at the breakout level, wait for a pullback to the half-range level within the opening range
- Enter at the half-range level with your stop at the full range (opposite breakout level)
- Target the full range above or below the breakout level
This gives you a 1:3 risk-to-reward ratio on a setup that has historically worked at 1:1. You are simply getting a better entry price on a proven setup.
Choosing Your Setup
There is no single correct answer. The right combination depends on:
- Your account size: Smaller accounts often need tighter stops (half range) to manage risk
- The symbol: Some symbols work better with half range stops, others with full range. Check the backtest data
- Your trading style: If you prefer fewer, larger winners, use half range stops with full range targets. If you prefer higher win rates, use matched stops and targets
- Market conditions: Volatile sessions may require full range stops to avoid getting shaken out
Use the backtest data across the 600+ symbols in ORB Setups to find the combinations that have historically performed well. Then test your chosen setup on paper before trading it live.